Tape Mod vs PE Foam Mod: Best Thock for Budget Keyboards
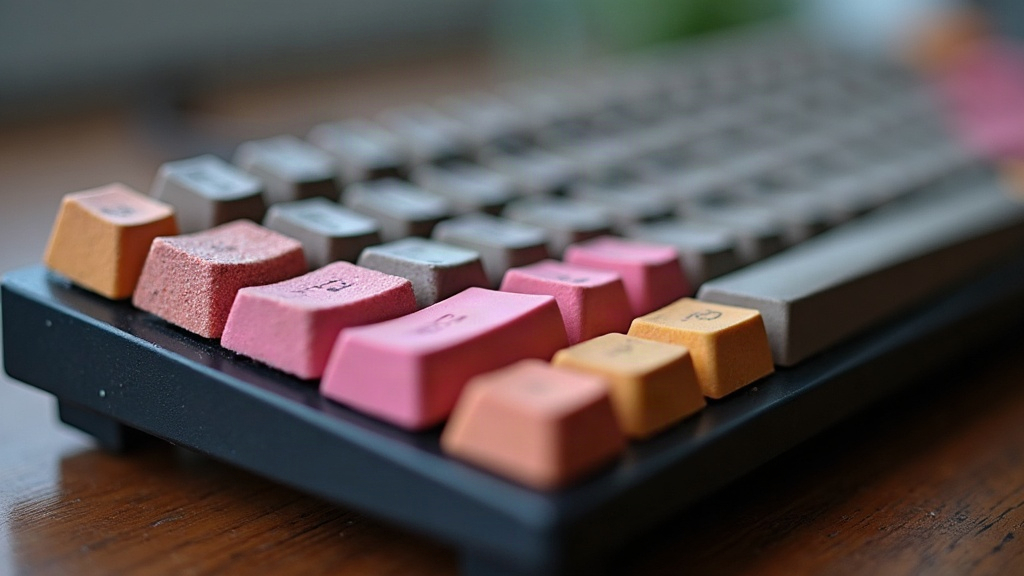
If you’ve spent any time in keyboard forums, you’ve seen the word “thock” tossed around like it’s the holy grail of typing. Own a budget board and want that deep, muted, marble-like sound without dropping $200 on a premium kit? Two mods keep coming up: the tape mod and the PE foam mod. Both are cheap, both are reversible, and both actually work, but they solve different problems. Here’s what each one does, how it changes the sound, and which to try first.
What Is the Tape Mod?
The tape mod means sticking layers of tape (painter’s tape, washi tape, even plain Scotch tape) to the back of the PCB, right over or around the switch pins. The point is to calm down PCB flex and kill that “ping” or hollow reverb cheap boards tend to produce.
How it works:
- You apply 1 to 3 layers of tape to the underside of the PCB.
- That tape slightly restricts how the plate vibrates, which cuts down on high-frequency ringing.
- Some builders also tape the back of the switch plate for a bit more dampening.
Typical results:
- Noticeably less “ping” and metallic resonance.
- Keystrokes sound tighter, a touch more muted.
- Typing feel barely changes, bottom-out stays roughly the same.
Time and cost: Under 15 minutes. Basically free if you’ve already got tape lying around.
What Is the PE Foam Mod?
The PE (polyethylene) foam mod involves slipping a thin sheet of foam, usually 1-2mm, between the PCB and the bottom case (sometimes between the plate and PCB instead). This fills the hollow cavity inside the case, the space that normally acts like a tiny echo chamber.
How it works:
- Foam soaks up vibrations traveling through the case.
- It cuts down on case “ping,” hollow rattle, and high-pitched switch noise.
- Often paired with the tape mod for a layered effect (tape plus foam is a favorite combo on sub-$50 boards).
Typical results:
- A deeper, rounder sound signature.
- A big drop in that hollow, “boxy” resonance.
- Slightly quieter overall, which some typists love and others find a little too muffled.
Time and cost: 20-30 minutes. A sheet of foam runs $3-8, enough to mod several boards.
Head-to-Head Comparison
| Factor | Tape Mod | PE Foam Mod |
|---|---|---|
| Difficulty | Very easy | Easy-moderate |
| Cost | Nearly free | $3-8 |
| Sound change | Tighter, less ping | Deeper, less hollow |
| Typing feel | Barely affected | Slightly softer bottom-out |
| Reversibility | Instant | Instant |
| Best for | PCB-level ping | Case-level hollowness |
Which One Gives the Best Thock?
Honest answer: neither mod on its own usually gets you to full “thock.” But stack them together and you’ve got one of the most effective budget acoustic upgrades out there.
- Got a sharp, high-pitched ping on every keypress? Start with the tape mod. That’s a PCB resonance problem, and tape goes straight at it.
- Sounds hollow, boxy, like you’re typing inside a tin can? The PE foam mod will move the needle more, since it targets the case cavity, not the PCB.
- Want the real deal, that deep, rounded, almost poppy “thock”? Stack both mods. Tape handles the PCB, foam handles the case, and together they knock out nearly every unwanted resonance frequency.
Example Setup for Maximum Thock
- Apply 2 layers of painter’s tape to the underside of the PCB.
- Cut a 1.5mm PE foam sheet to match your case interior.
- Place the foam between the PCB and bottom case.
- Reassemble and test with lubed switches for the best result (switch lube matters way more than people expect).
Common Mistakes to Avoid
- Using foam that’s too thick. This can throw off switch alignment or cause the board to flex oddly.
- Letting tape overlap the switch contacts. Route it around the pins, never over them.
- Skipping switch lubrication. No mod fixes scratchy, unlubed switches. None.
- Expecting a $25 board to sound like a $300 one. Mods improve the sound; they don’t rebuild your keyboard from scratch.
Final Verdict
For a budget keyboard, the tape mod is the smarter first move. It’s free, it’s quick, and it fixes the single most common complaint: PCB ping. If the board still sounds hollow after that, bring in the PE foam mod next. Do both and you’ll get a noticeably deeper, more satisfying “thock” that can genuinely compete with boards costing a lot more.
Start cheap, test as you go, and add mods one layer at a time. Your ears (and your fingertips) will notice the difference.